Table of Contents
Presets Change
The concept of Presets
OSCulator displays the messages in groups of Presets. You can imagine that like a set of layers with one layer being active at a time.
This adds the possibility to reconfigure the whole system in one step, and trigger that change from another event.
This concept open the door to a lot of creative opportunities, because it means you can use the same input in different contexts.
Managing the Presets
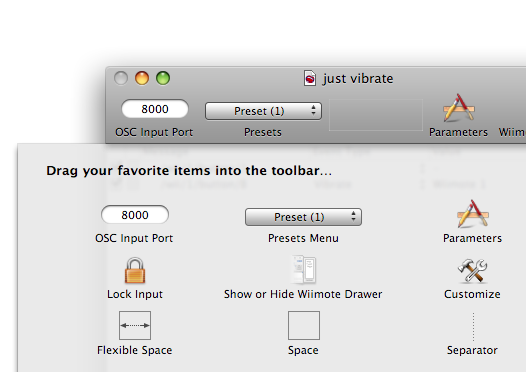
Presets are managed with the Presets Menu toolbar item1). If you don't have this item in your menu bar, select the View menu and choose “Customize Toolbar …”, then drag the Presets Menu in your toolbar.
Every OSCulator document comes with a default preset named “Default”. A document must contain at least one preset.
Creating a new Preset
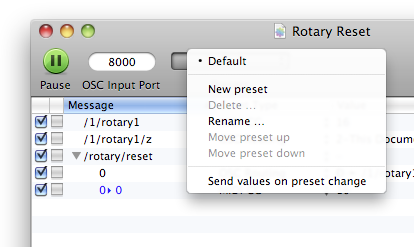
To create a new Preset, click on the Presets menu and select the item “New Preset”. Even though nothing seems to have changed, the current configuration has been duplicated, and you can tell a new preset is created by looking at its name (eg. 'Preset (1)').
A new preset is always created with a copy of the current preset. From there, you can customize it and come back to the previous preset by selecting it in the Presets Menu.
Renaming a Preset
To change the name of a Preset, select “Rename Preset …” in the Presets Menu.
Deleting a Preset
You can delete any preset as long as there is at least one left in the document. To do this, select “Delete Preset …” in the Presets Menu.
Changing the order of the Presets
You can swap presets between them by choosing “Move Preset Up” or “Move Preset Down” in the Presets menu.
Selecting Presets
To select another preset, choose its name in the Presets Menu. You can also do this from an OSC input, as described in the next section.
The Presets Event
Choose a OSC message that will be used to trigger the preset change event. For this message, choose the Presets event type. In the value column, select the “Next Preset” or “Previous Preset” values to make the current preset change in response to the input.
With these events, you can cycle through all the presets. That means that the next preset after the last one is the first one, and the previous preset before the first one is the last one. If the document contains only one preset, then no change will be performed.
You can also directly jump to a specific Preset if you choose a value named Switch to <preset name> Where ''<preset name» is the name of an existing preset.


